How-to: using ROI
A step-by-step guide on how to use Napari-Correct-Drift on one 2D movie.
The movie shows an growing root tip from vertical microscopy. The object is moviing, while the background is constant. This requires us to use a regions-of-interest (ROI) to focus the correction on the root object. For the rest we will only use default parameters.
0. Download sample movie
Click on root tip and save the root_2.tif` file.
1. Open Napari and load movie
In Napari: File->Open Files(s) and select movie
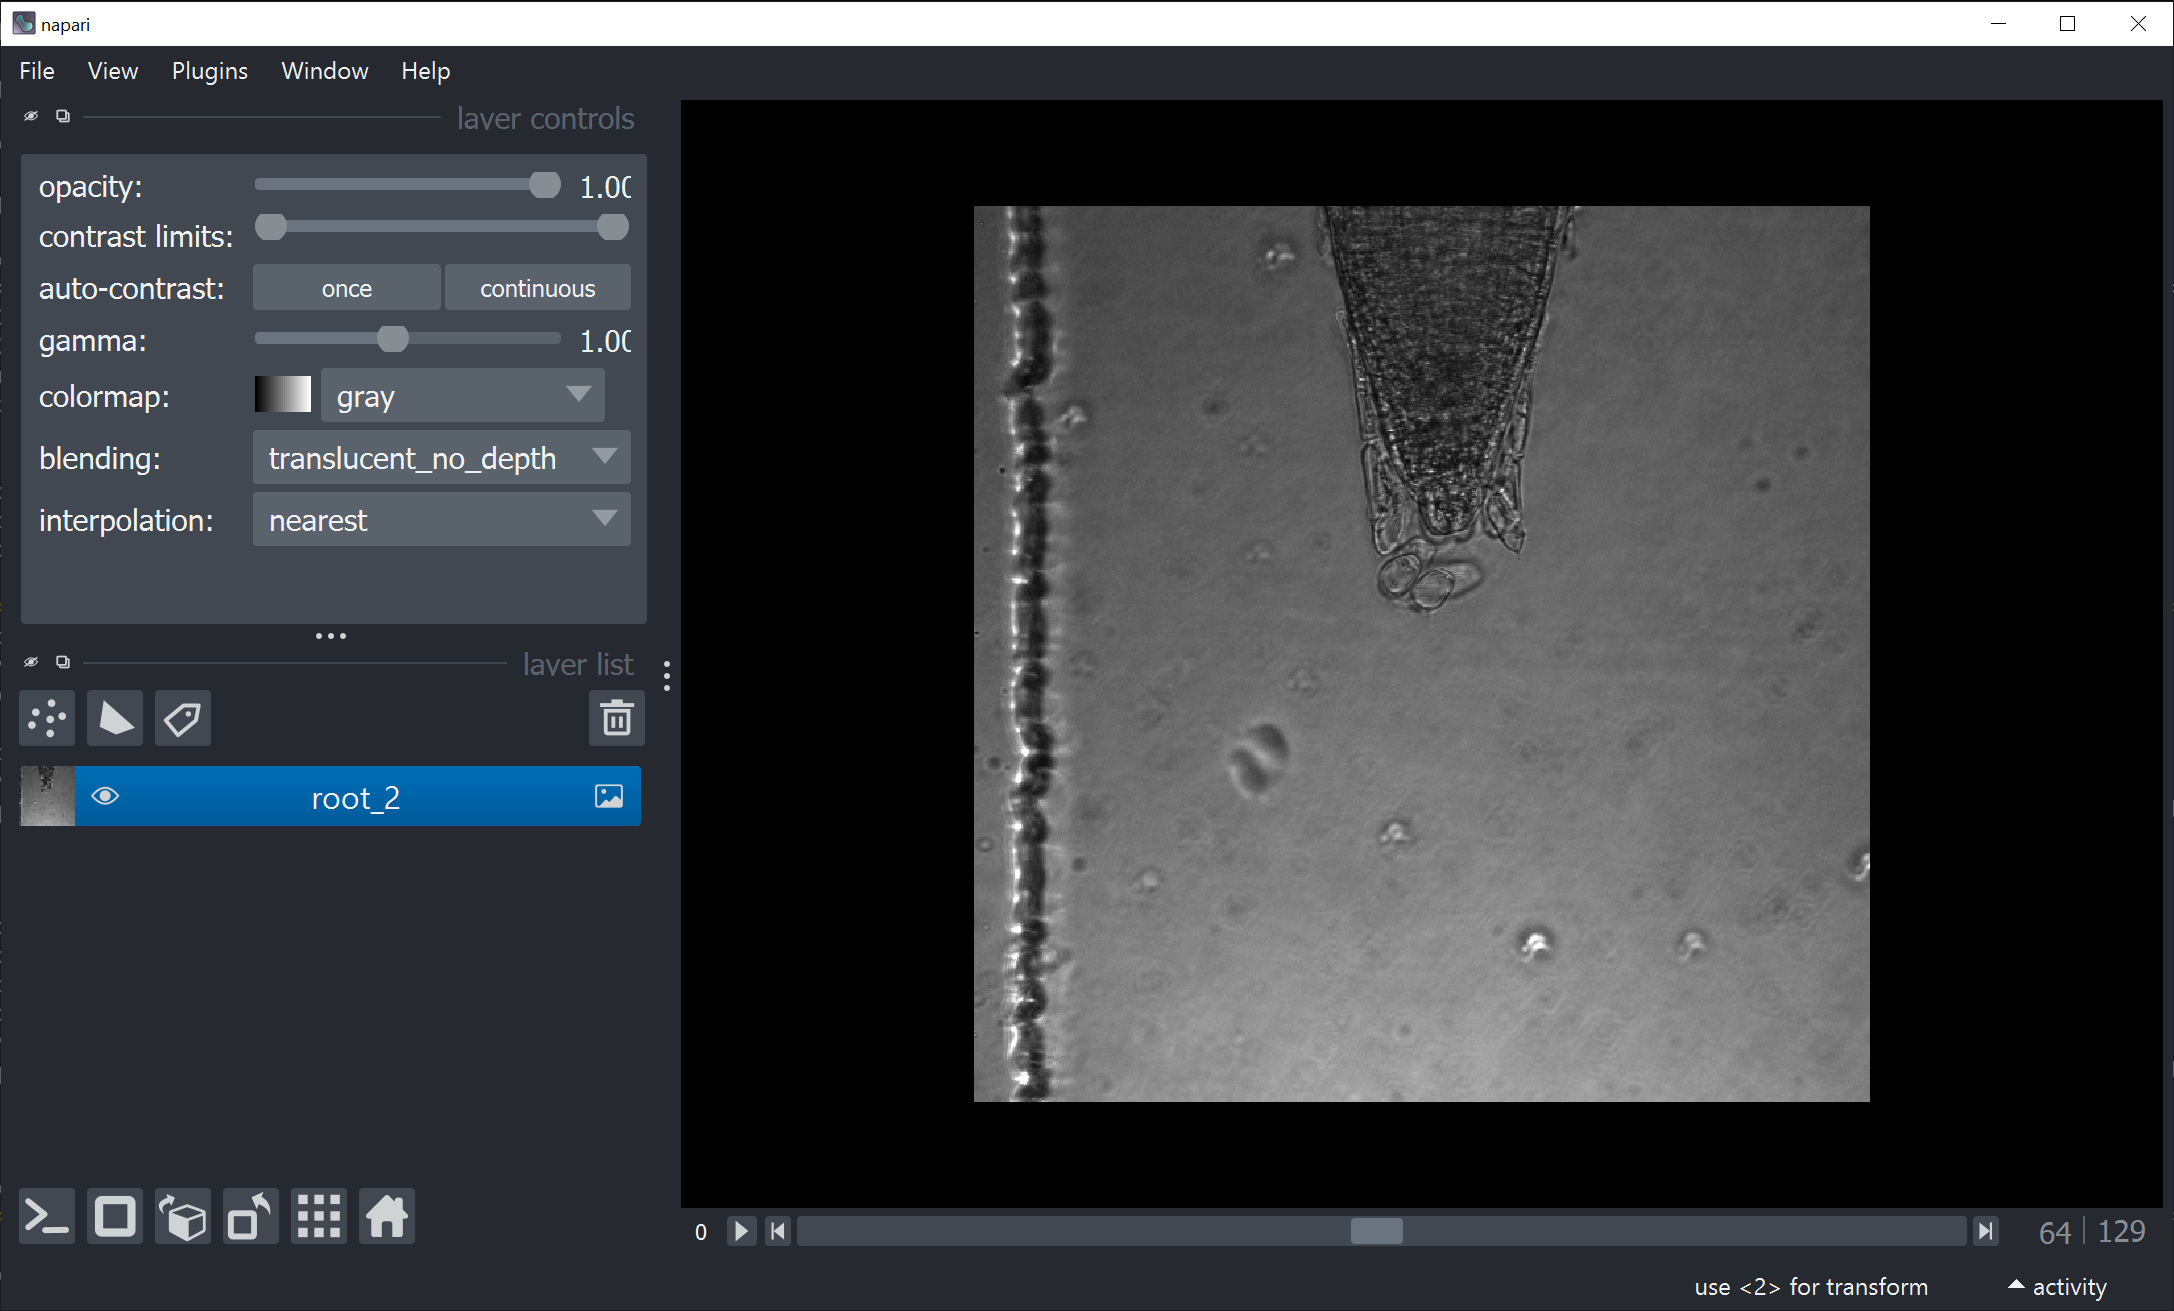
You should see:
2. Open Napari-Correct-Drift plug-in
In Napari: select Plugins->Napari Correct Drift (napari-correct-drift) from menu

3. Check the Use ROI checkbox
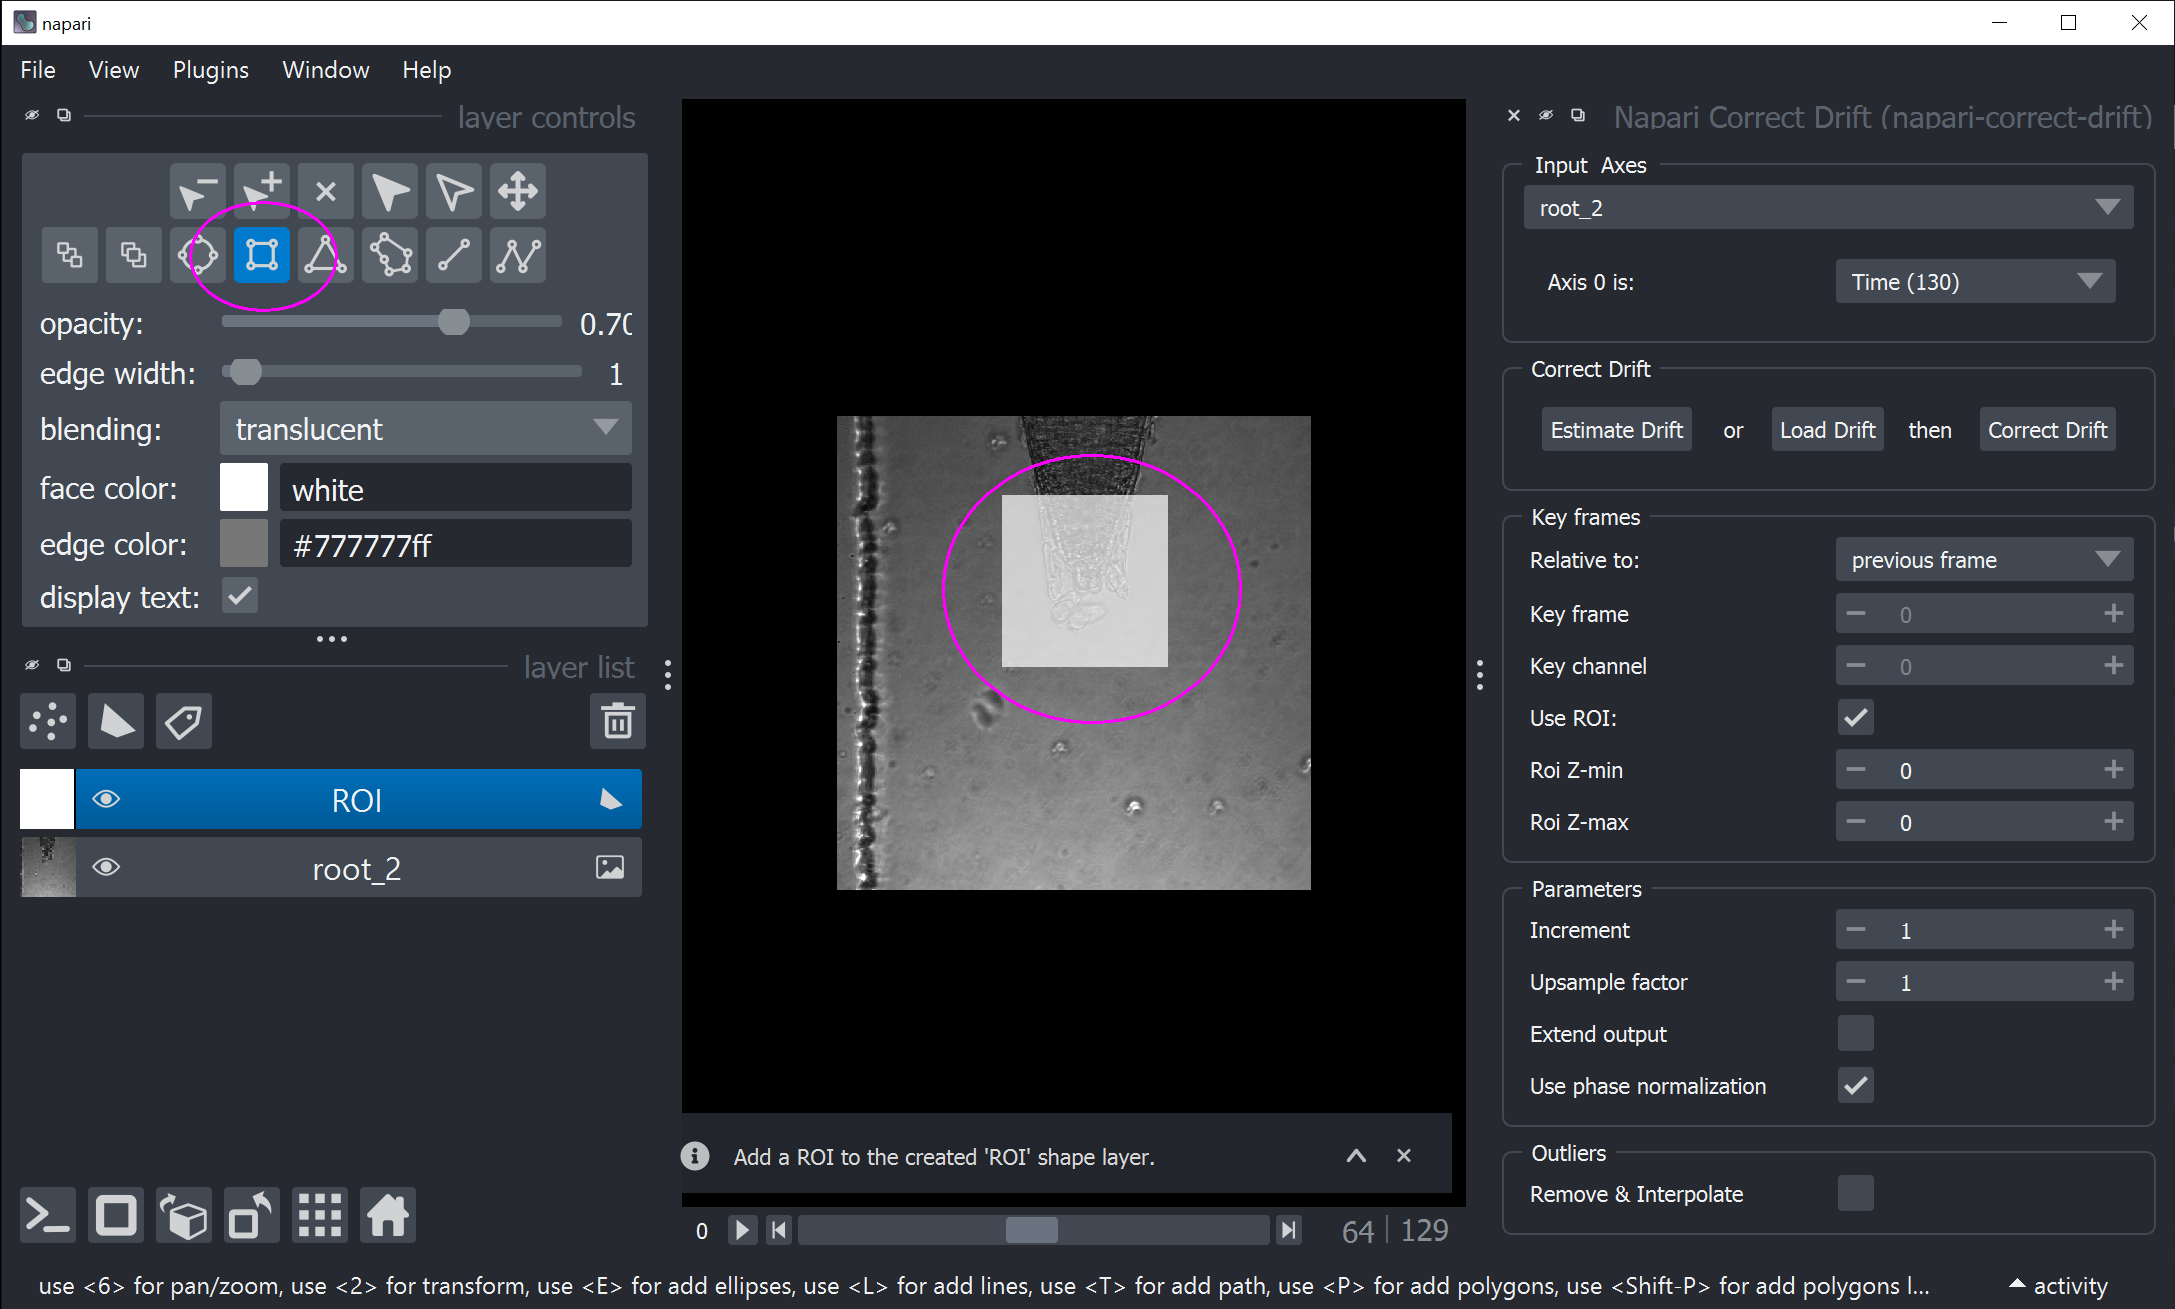
In the Napari-Correct-Drift widget on the right, activate the the Use ROI checkbox. This will add a new shape layer called ROI

4. Draw rectangular ROI over root
Choose rectangular ROI ![]() and draw onto image
and draw onto image
5. Estimate drift
Estimate drift by clicking the Estimate drift button in the Napari-Correct-Drift widget.
This will bring up the drift table widget (lower right) after ~10 seconds.

6. Correct drift
Correct drift by clicking the Correct drift button in the Napari-Correct-Drift widget.
This will add another image shape layer root_2 (corrected)
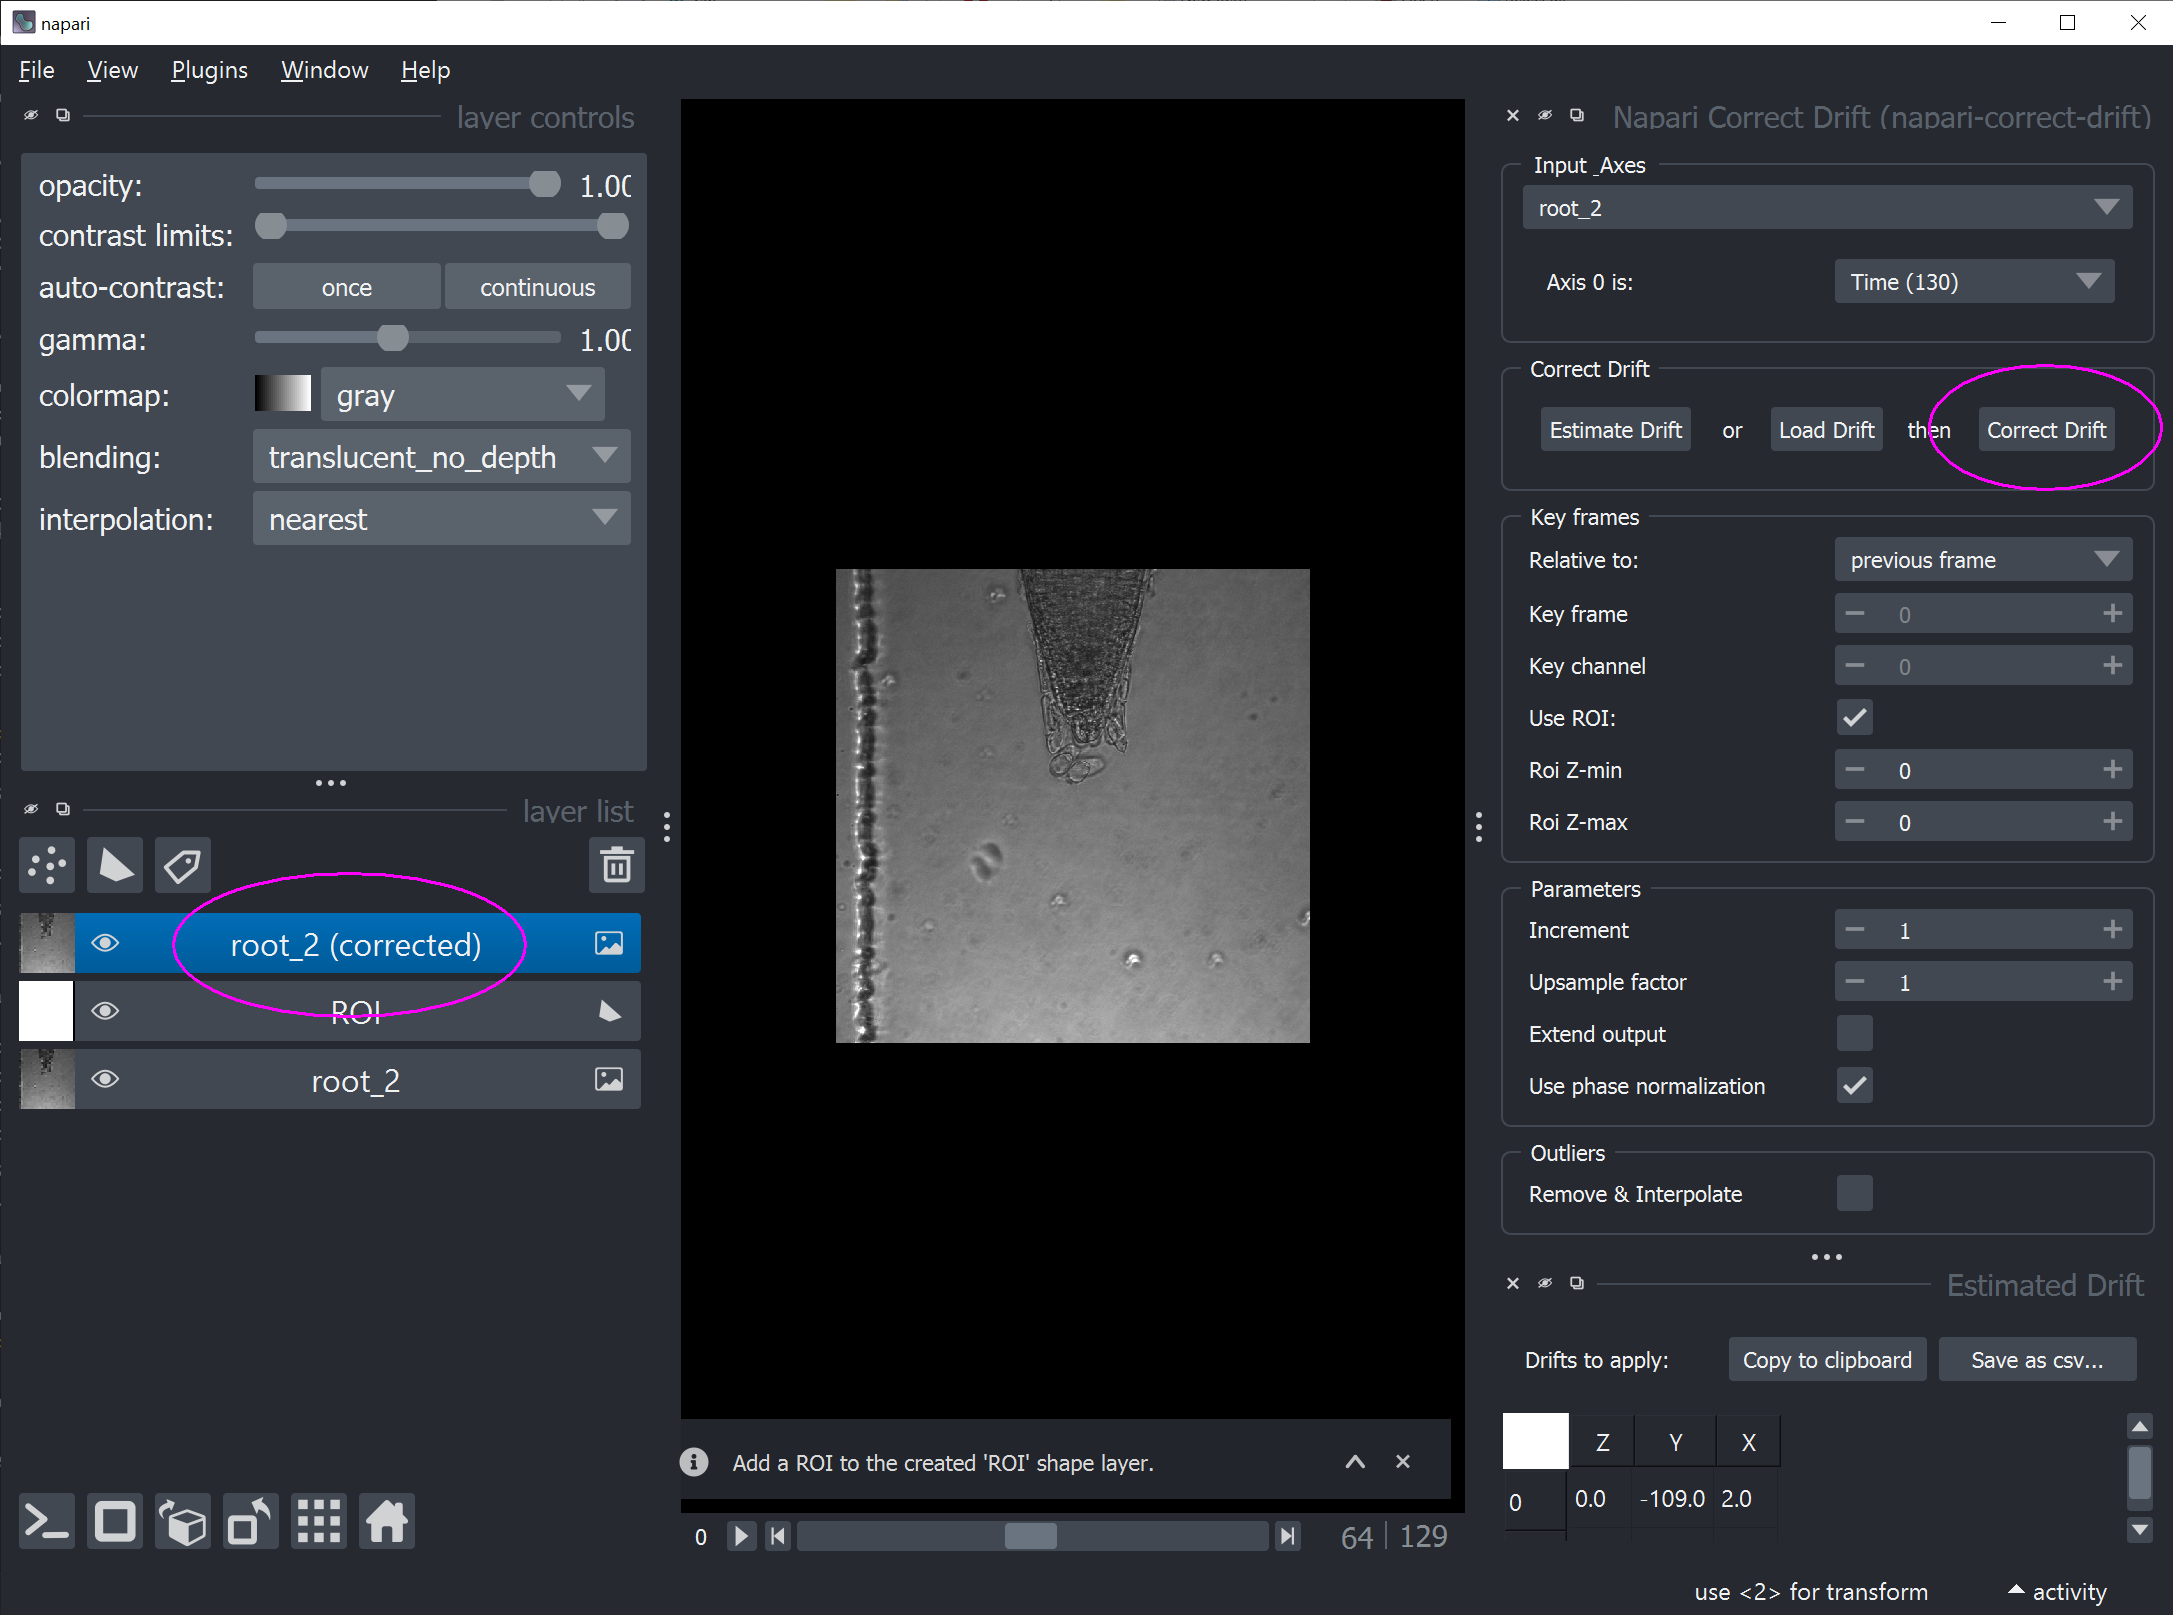
Now you can inspect the correction result by using the time slider, i. e. Axis 0